Aside from being asked what I look for when I take a picture, the next logical question is, “How do you set up your camera for shooting different types of shots?”
This is a quick guide to how I shoot my Leica on manual for what I call the “Four Pillars of Photography.”
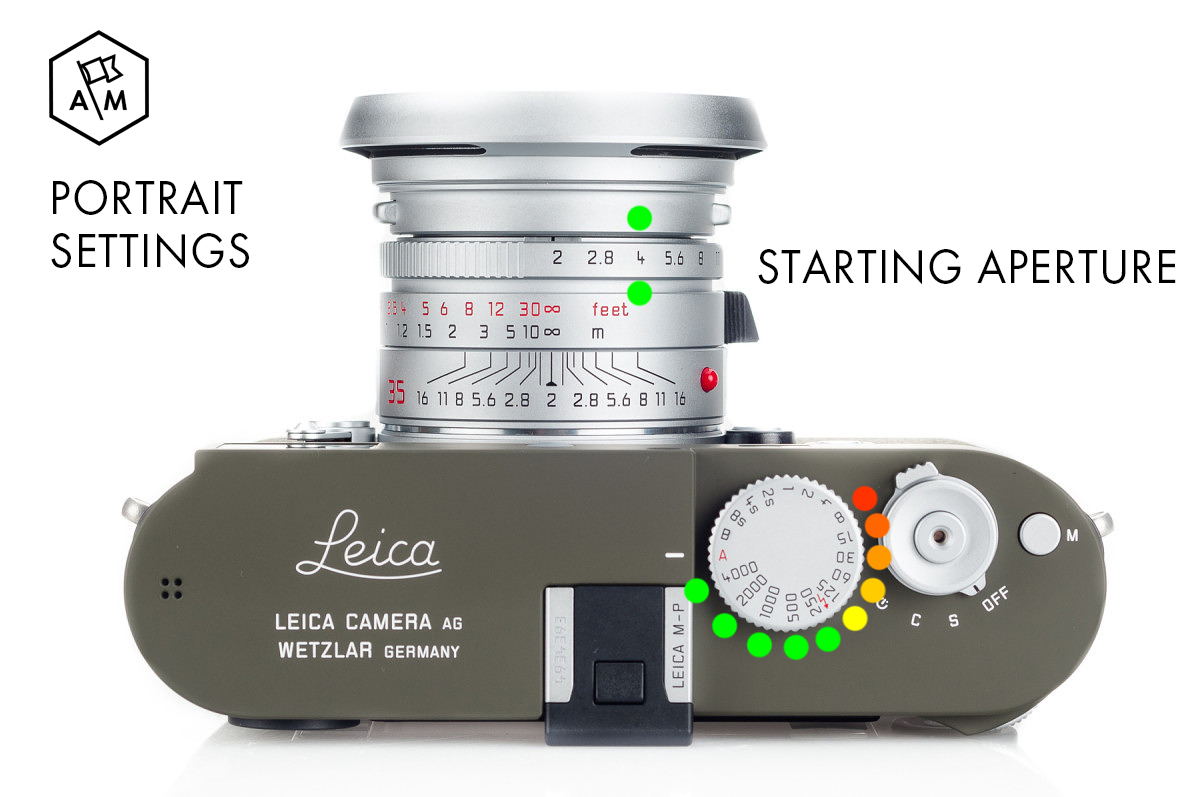
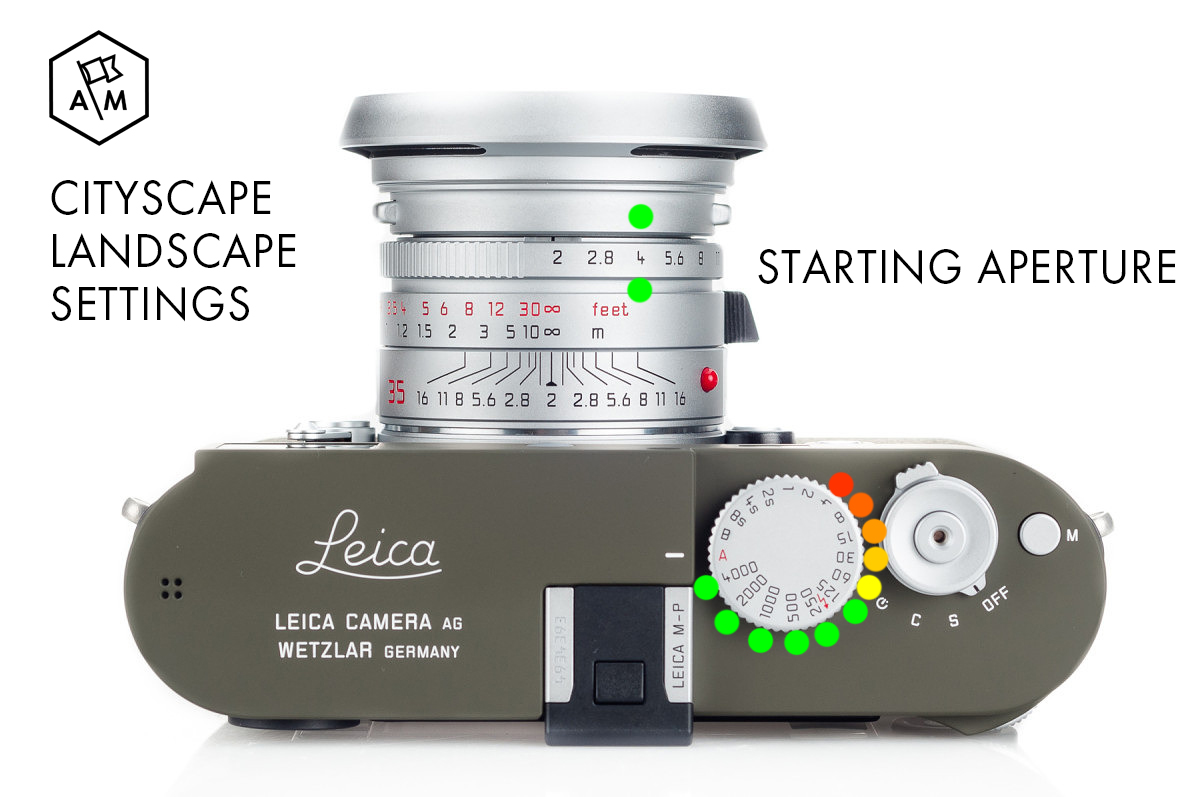
F/4.0 gives you room to adjust in both directions. Learn to adjust accordingly.
Why? While a lot of people like to shoot wide open, I’ve never bought into the hype of bokeh. From time to time, it can add a nice effect, but shooting a lens wide open all the time looks gimmicky. Plus, since I photograph a lot of people, I don’t really want the environmental background of a portrait to turn into a mush of colors.
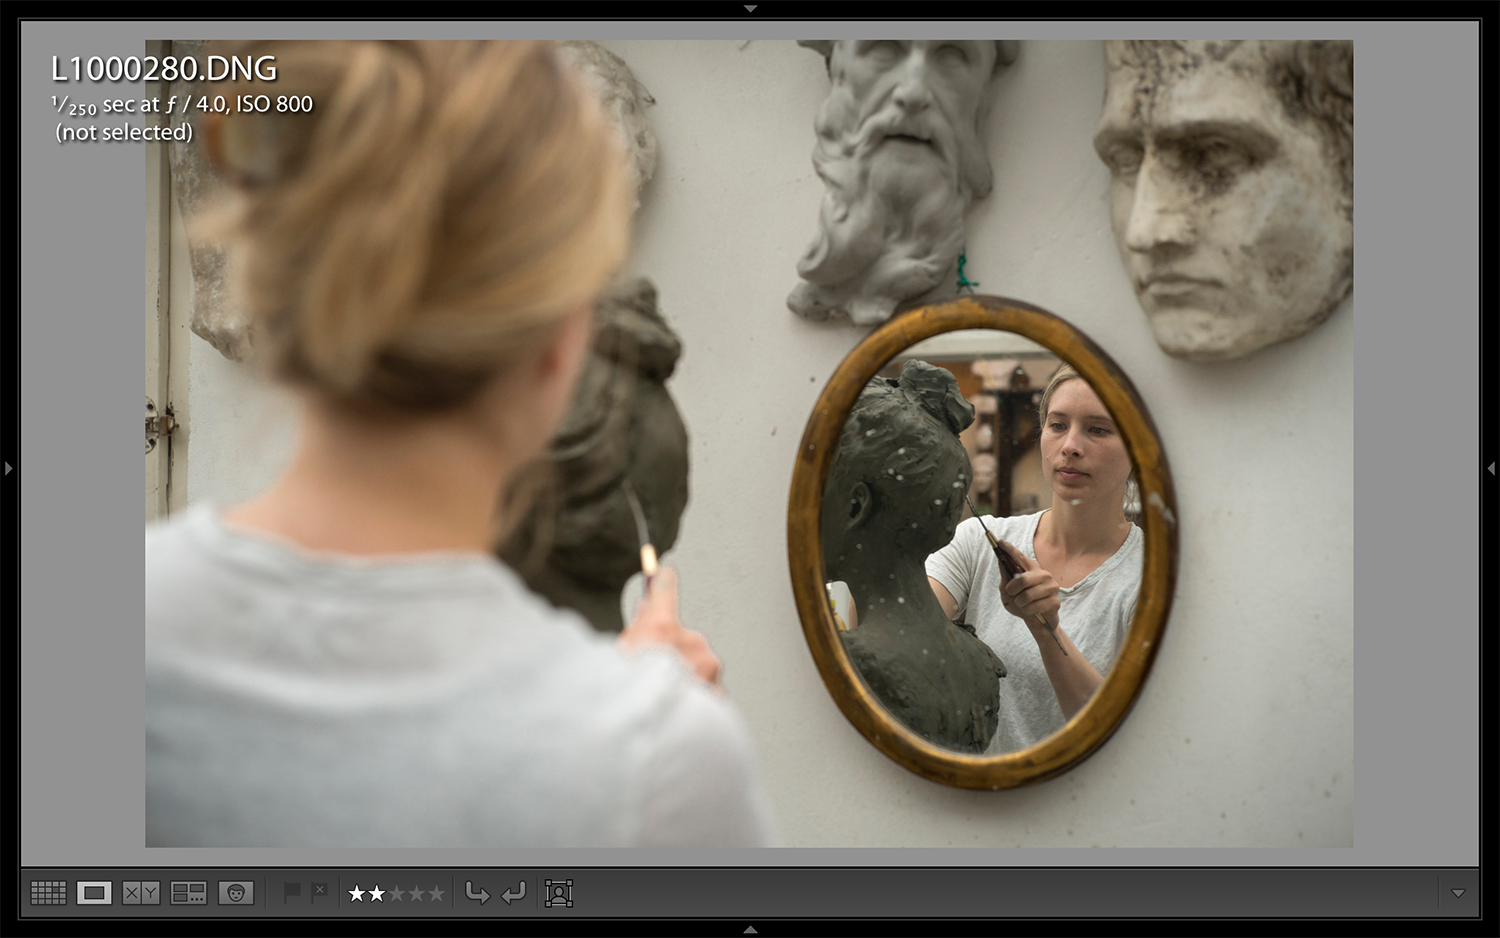
From a functional side, starting on F/4.0 gives me a little breathing room to adjust my aperture up or down as needed. If I am wide open, I can only adjust down.
F/4.0 gives you room to adjust in both directions. Learn to adjust accordingly.
The prevailing thoughts on shutter speed are that if you are at a 1/focal length (rounded to the nearest possible number), you will arrive at the slowest speed a lens will tolerate. Put into practical terms that means that the following lens set ups will look like this:
35mm lens: 1/30th of a second
50mm lens: 1/60th of a second
90mm lens: 1/90th of a second
That is all well and good in theory, but for a beginner, I find those shutter speeds are too slow. Photographers end up getting blurry pictures. They come to me and say they have “focus issues,” when in truth, they have camera shake problems.
Give yourself a test to verify your own abilities to hold a camera steady like a Navy Seal sniper.
Just remember, the people in front of your lens are living and breathing too. A faster shutter speed will make life much easier.
Take a portrait using all of your lenses. Depending on the light, shoot with your hand held from the highest speed to the slowest speed you can manage (usually around 1/1000th of a second down to 1/15th of a second).
Load the pictures on the computer and see where camera shake becomes visible. I’ve found that photographers can have camera shake as high as 1/500th of a second. Once you know what you are up against, it will make selecting shutter speeds much easier.
Portraits:
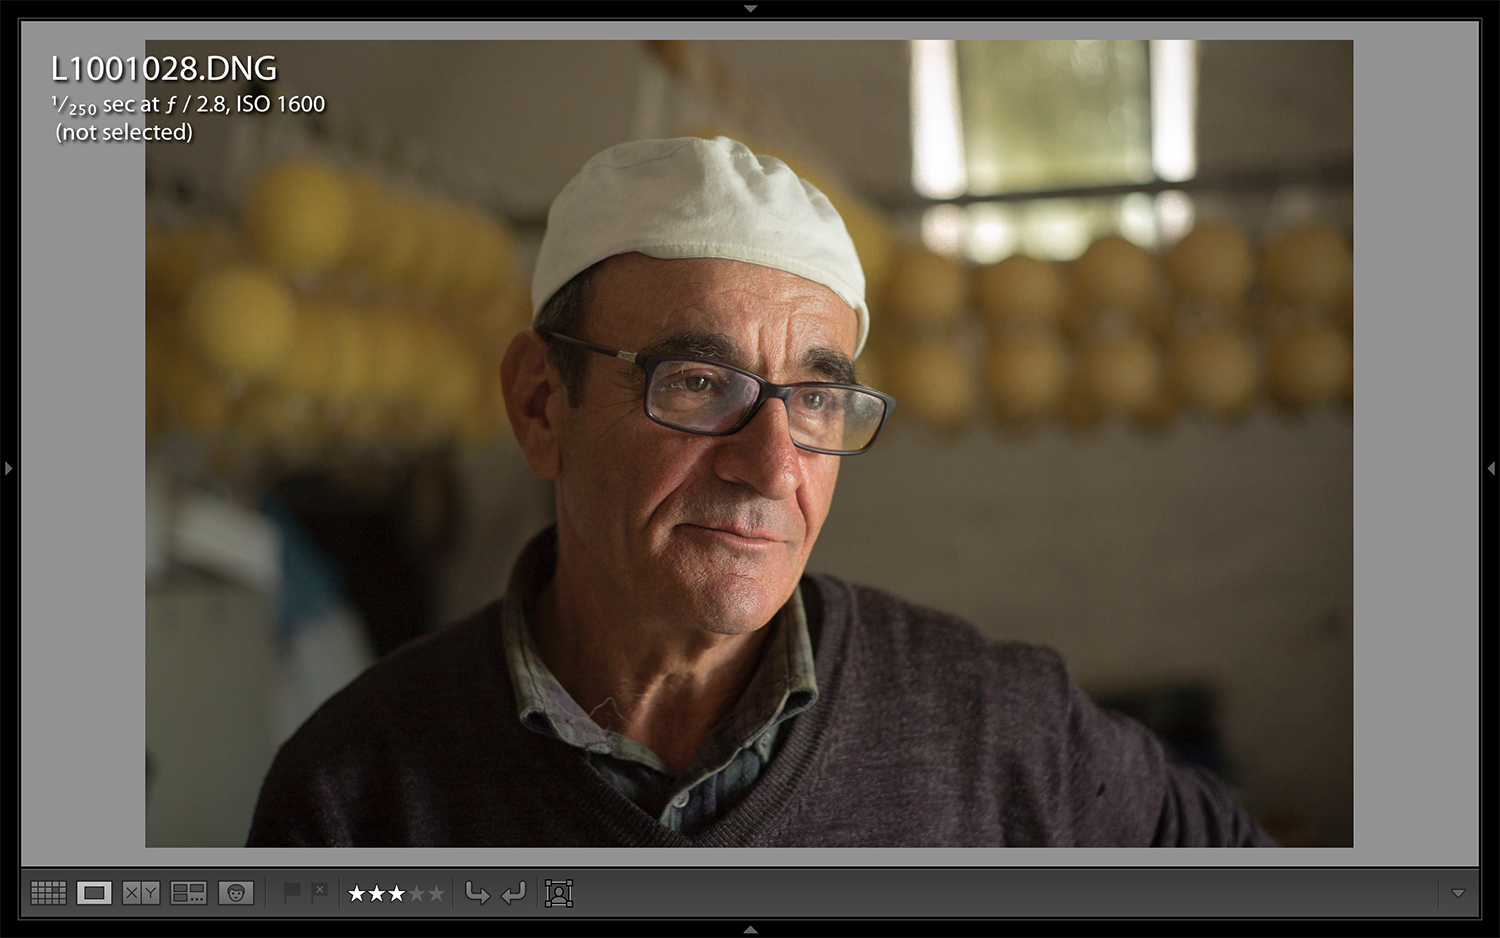
Starting shutter speed 1/250 sec.
Minimum shutter speed 1/60 sec.
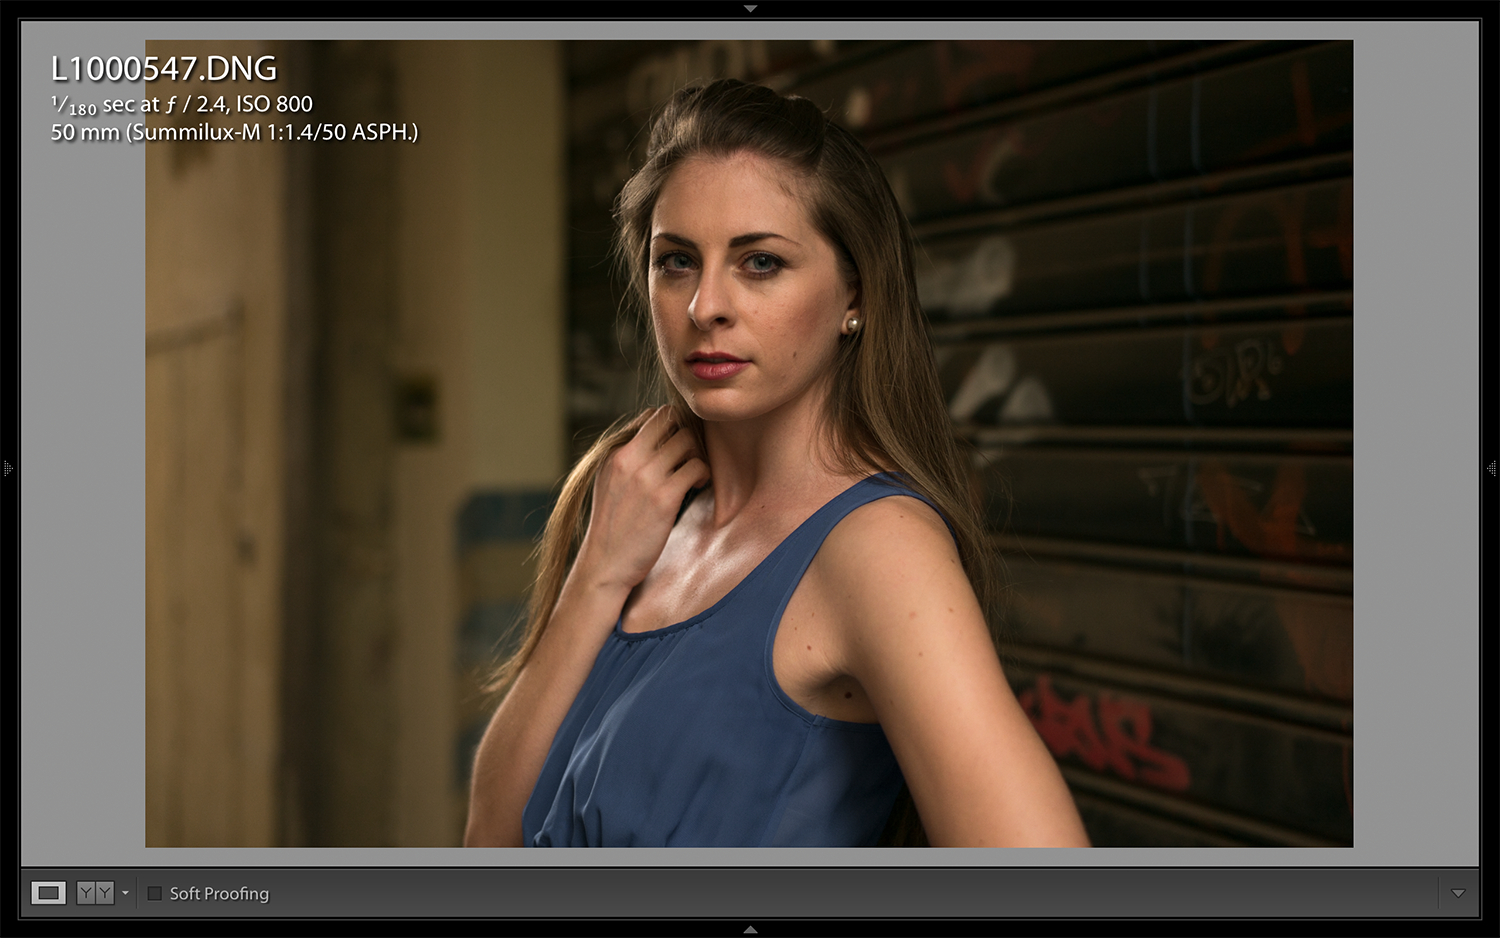
Typical Lenses: 90mm or 50mm
Why? It allows you to use longer lenses without camera shake. While you might hold still, your model might move. Better to stay above 1/250th sec.
Landscape/Cityscape:
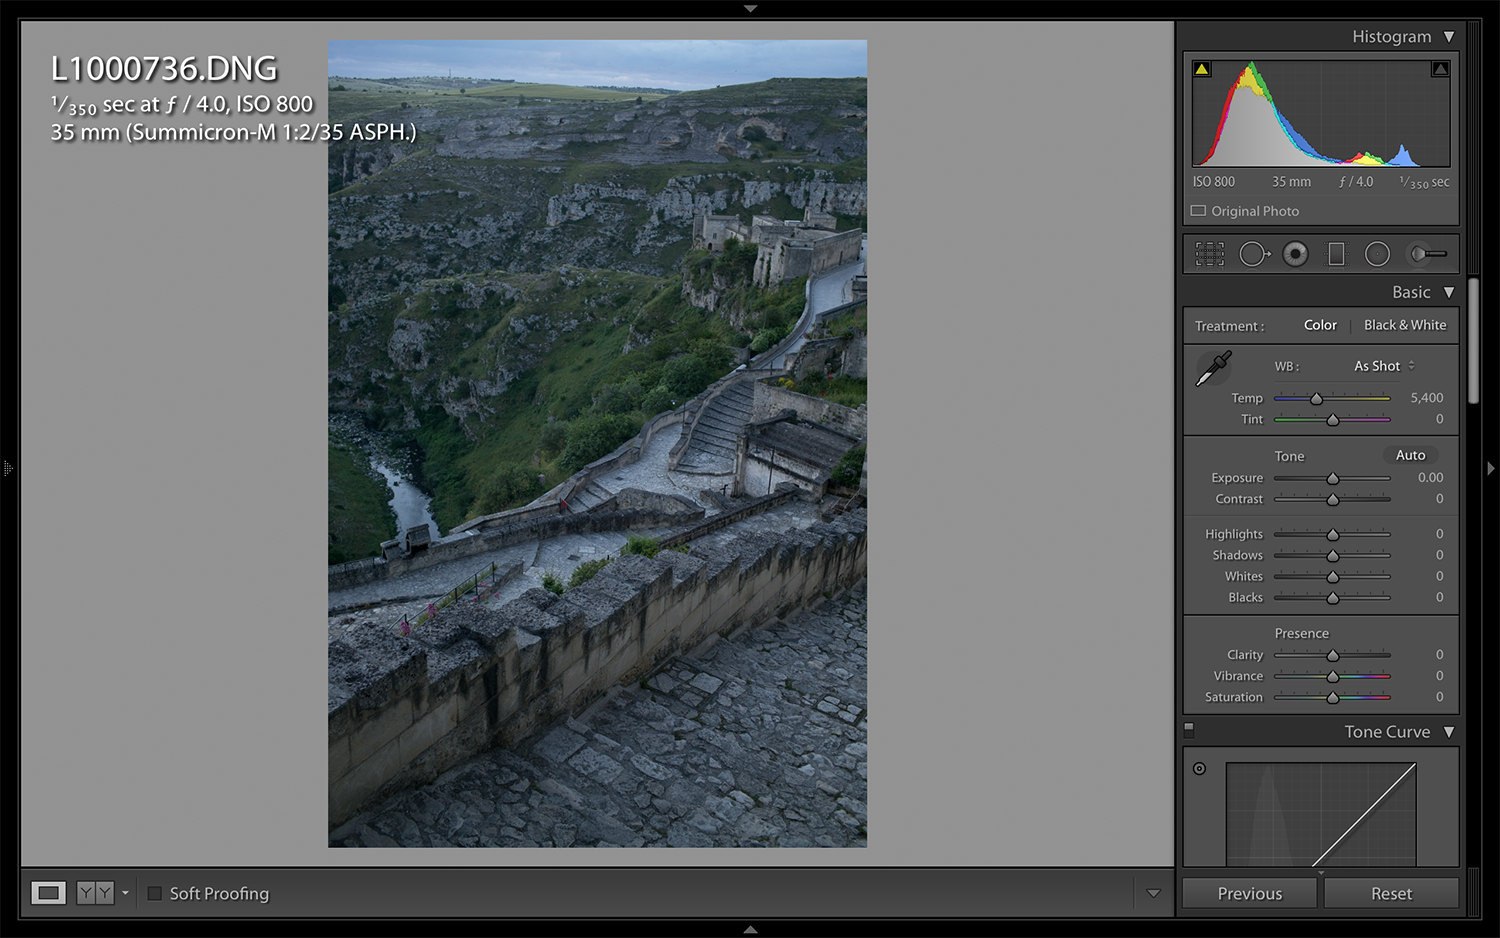
Starting shutter speed 1/125 sec.
Minimum shutter speed 1/4 sec. (hand held or on a tripod, it does not matter)
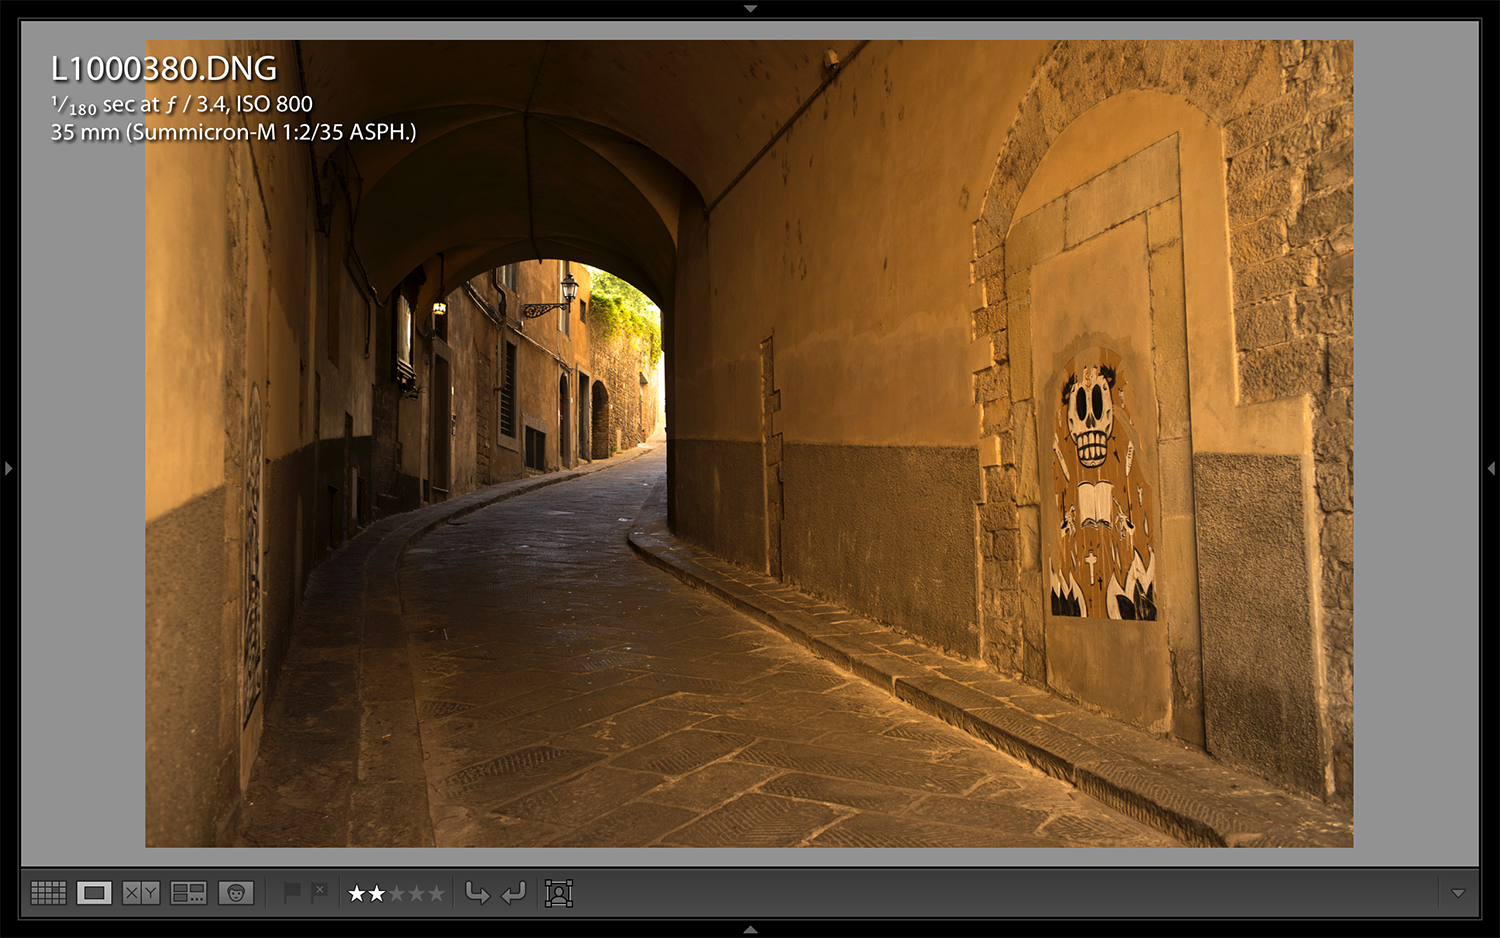
Typical Lenses: 50mm or 35mm, occasionally 21mm
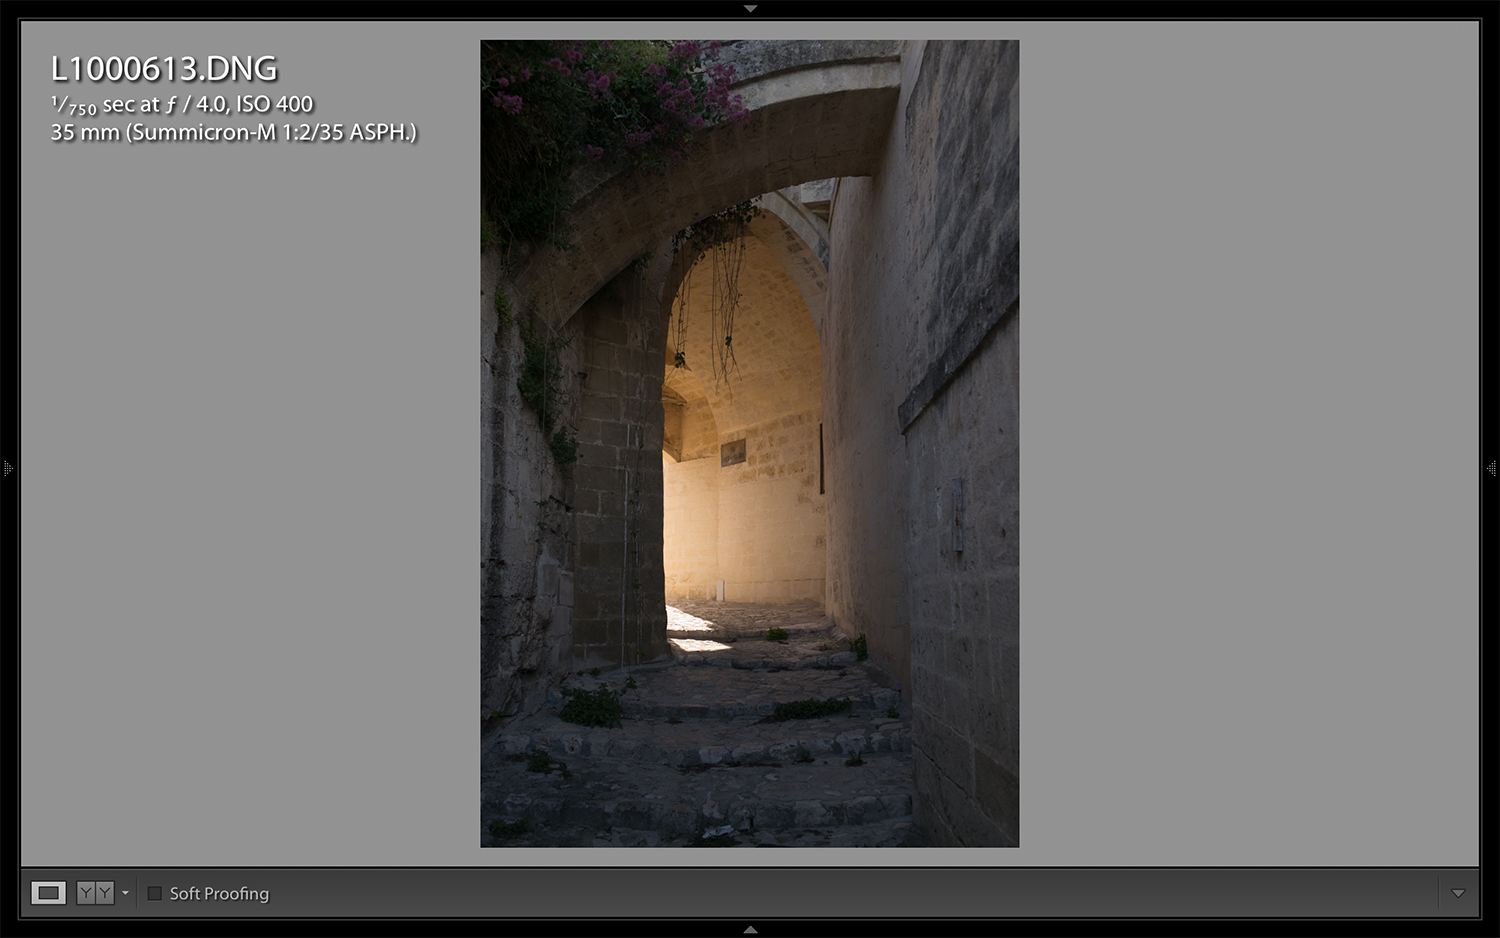
Why? Building and mountains don’t move much. Objects at a great distance can tolerate a little camera shake without any major problems.
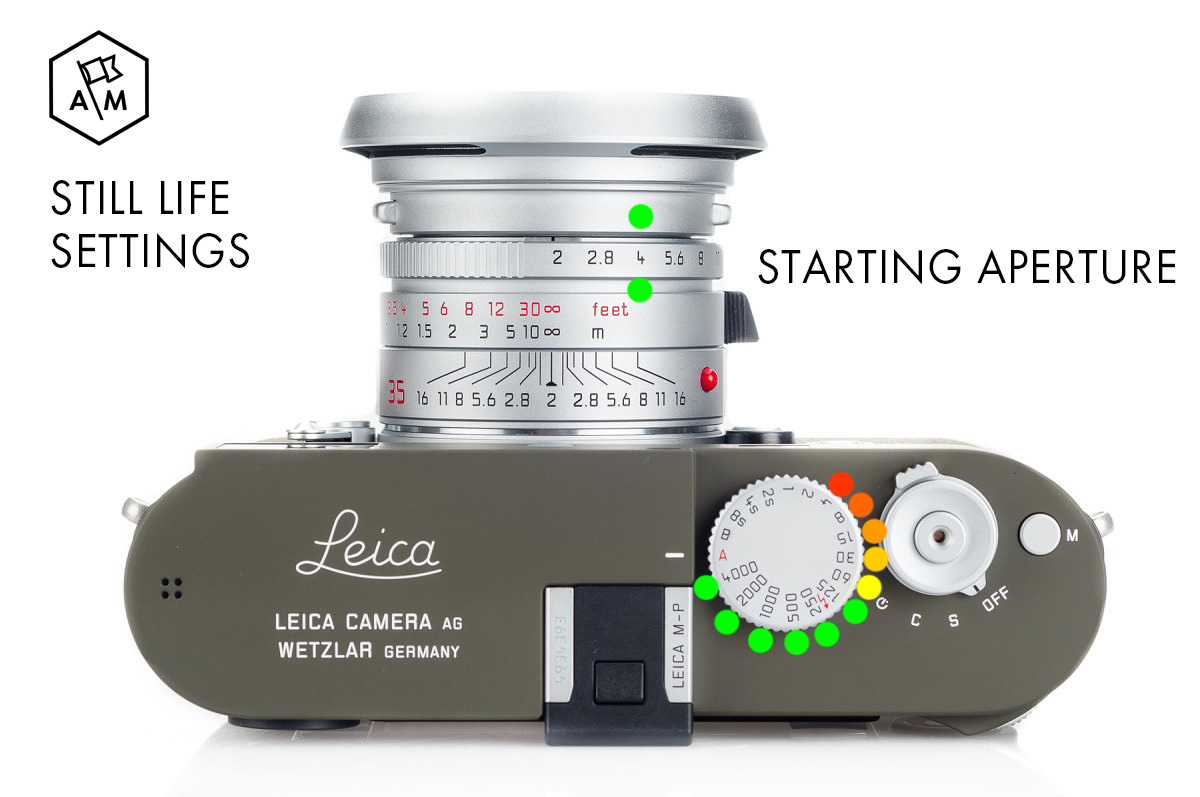
Still Life:
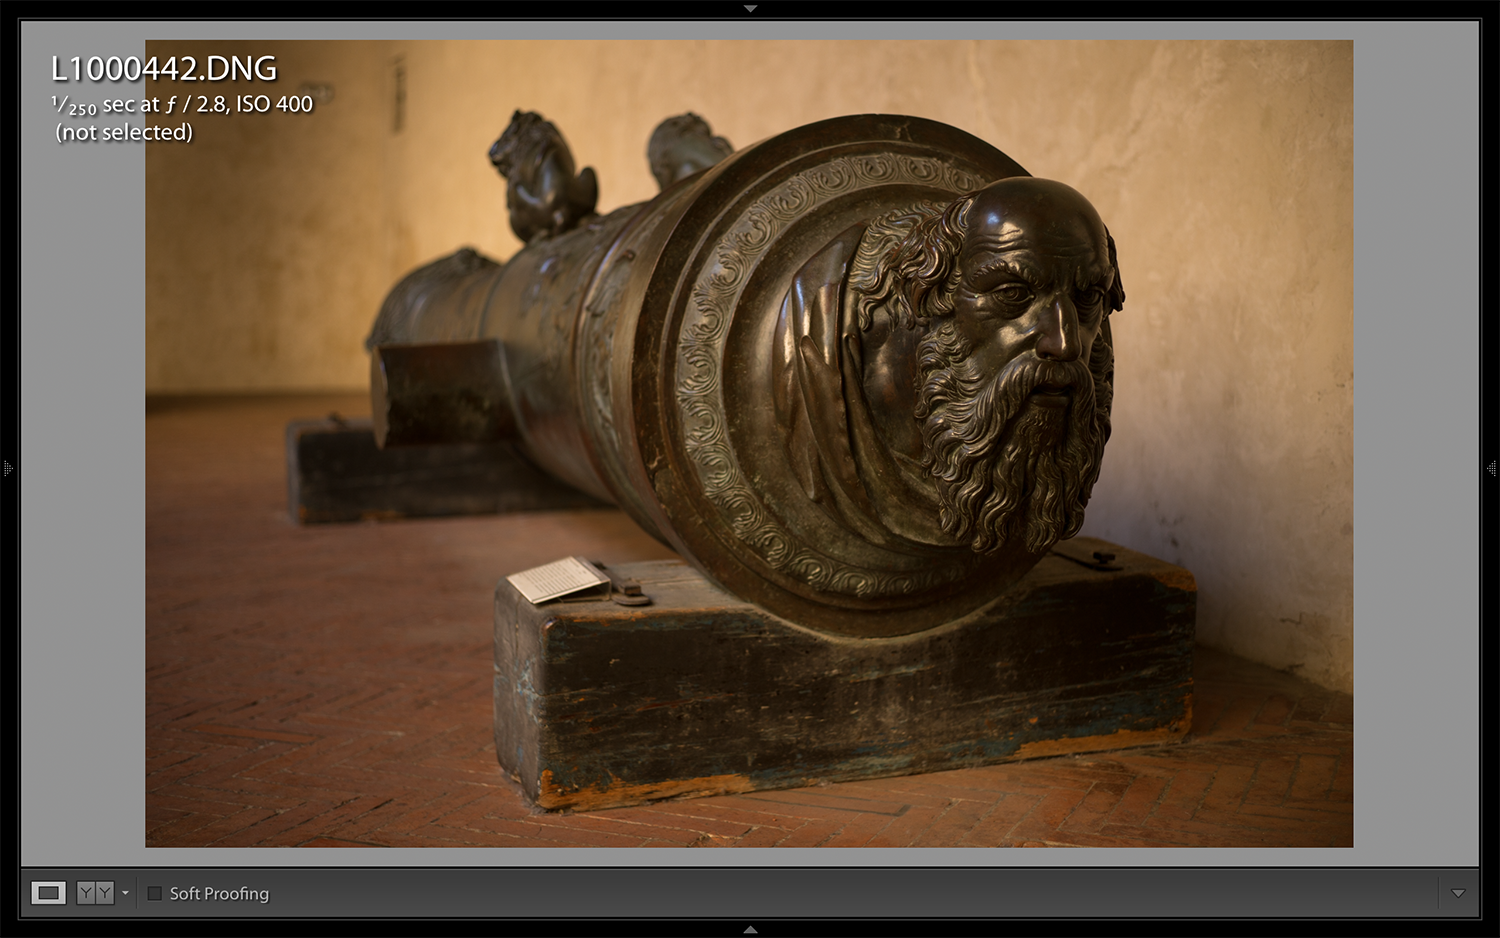
Starting shutter speed 1/125 sec.
Minimum shutter speed 1/60 sec.
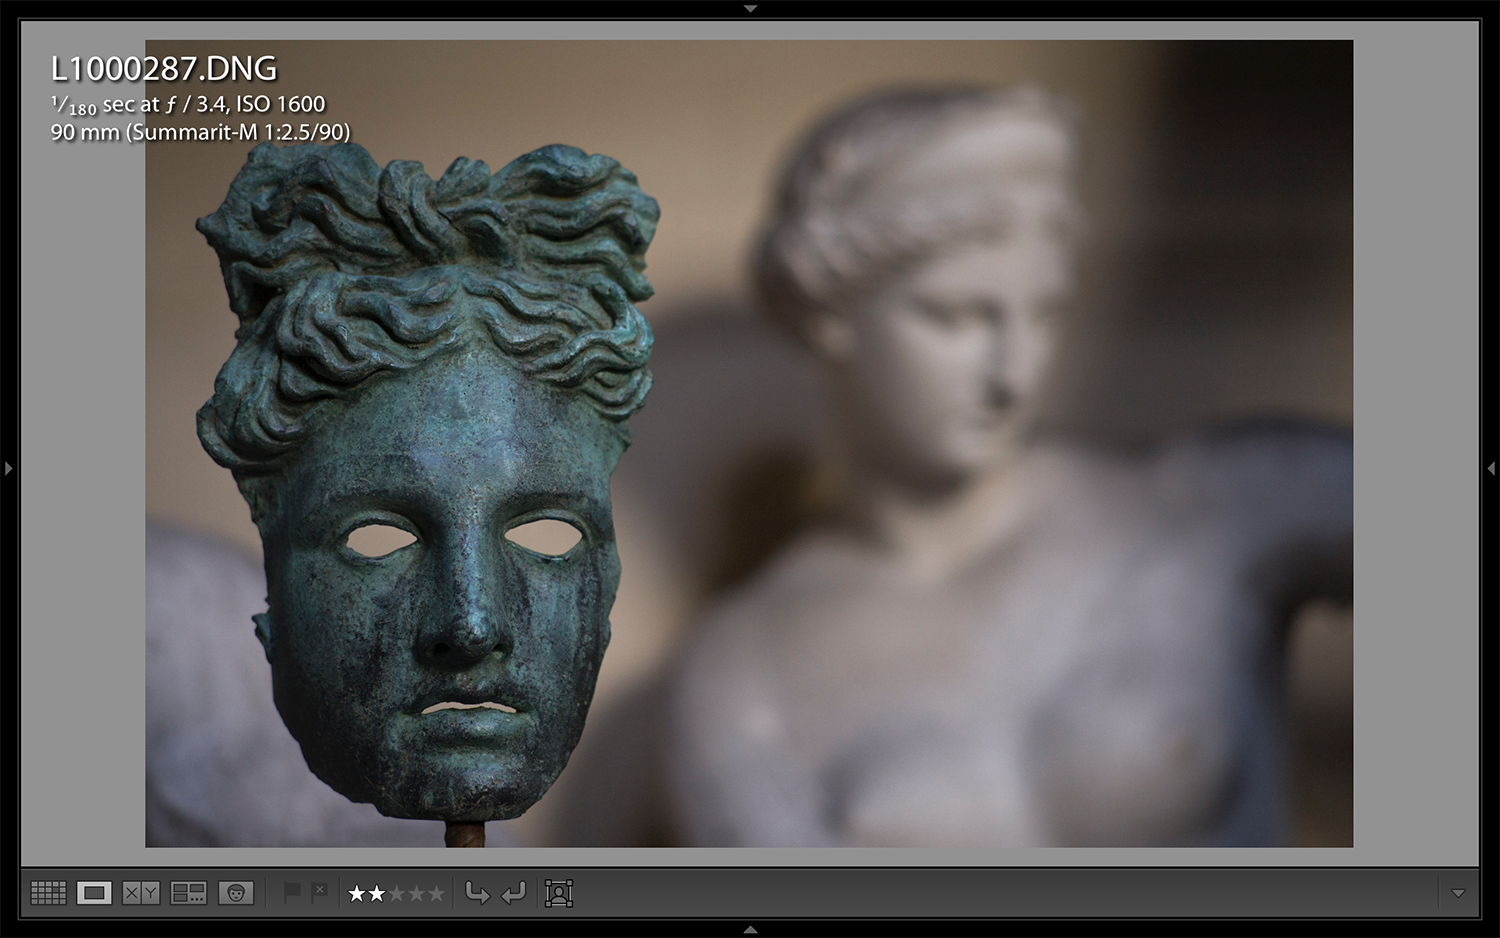
Typical Lenses: 90mm or 50mm (depending on how big the objects are)
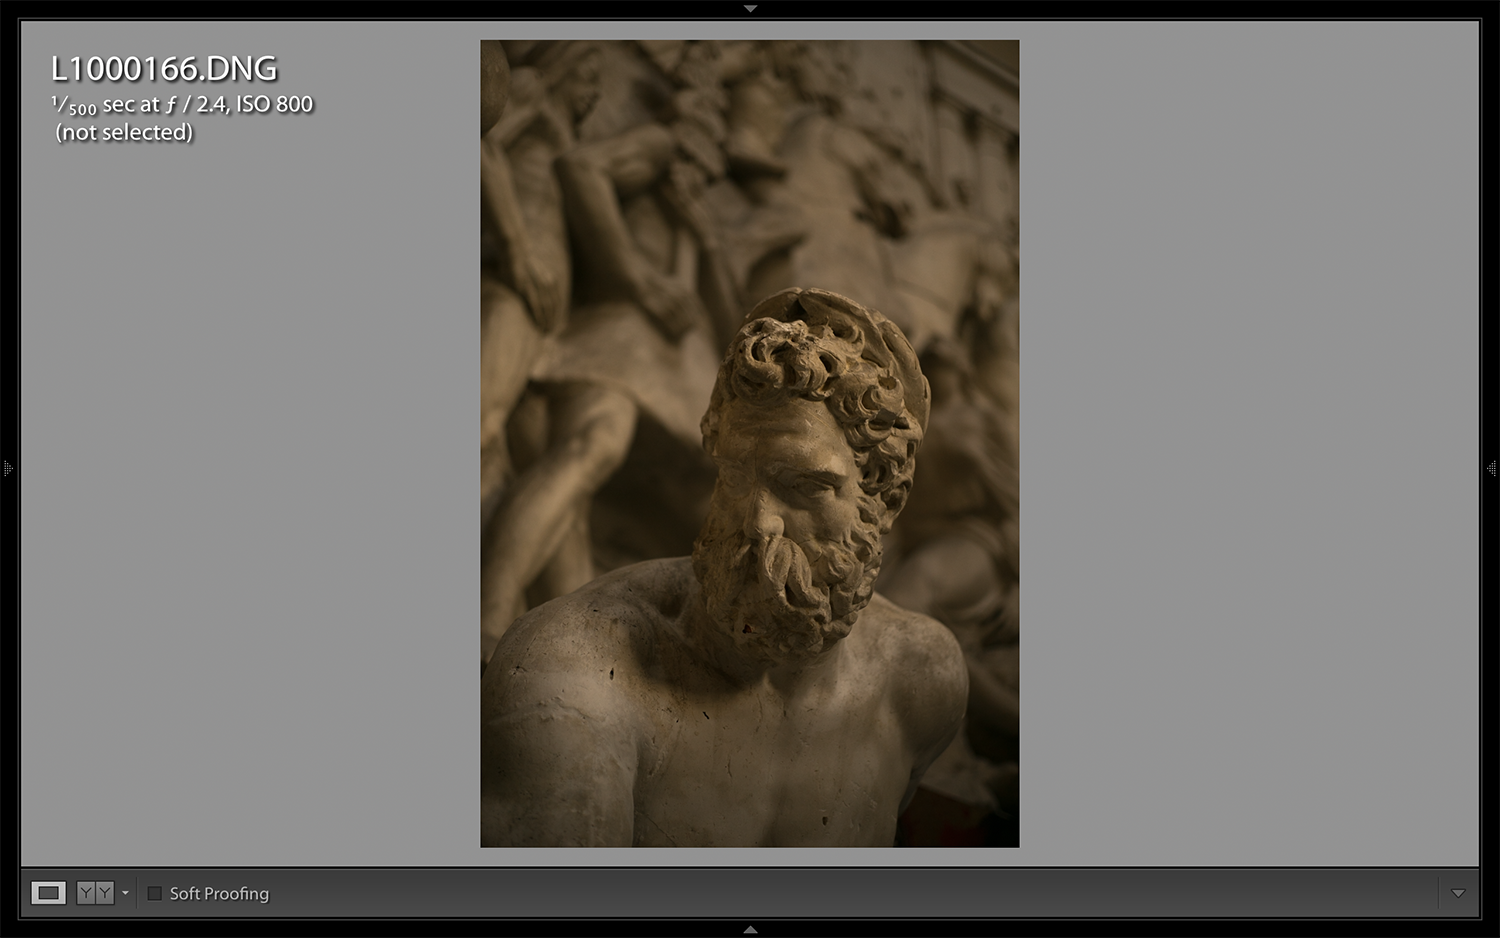
Why? Just like mountains, objects don’t move much. It is easier to brace yourself for slower shutter speeds if you need it in low light.
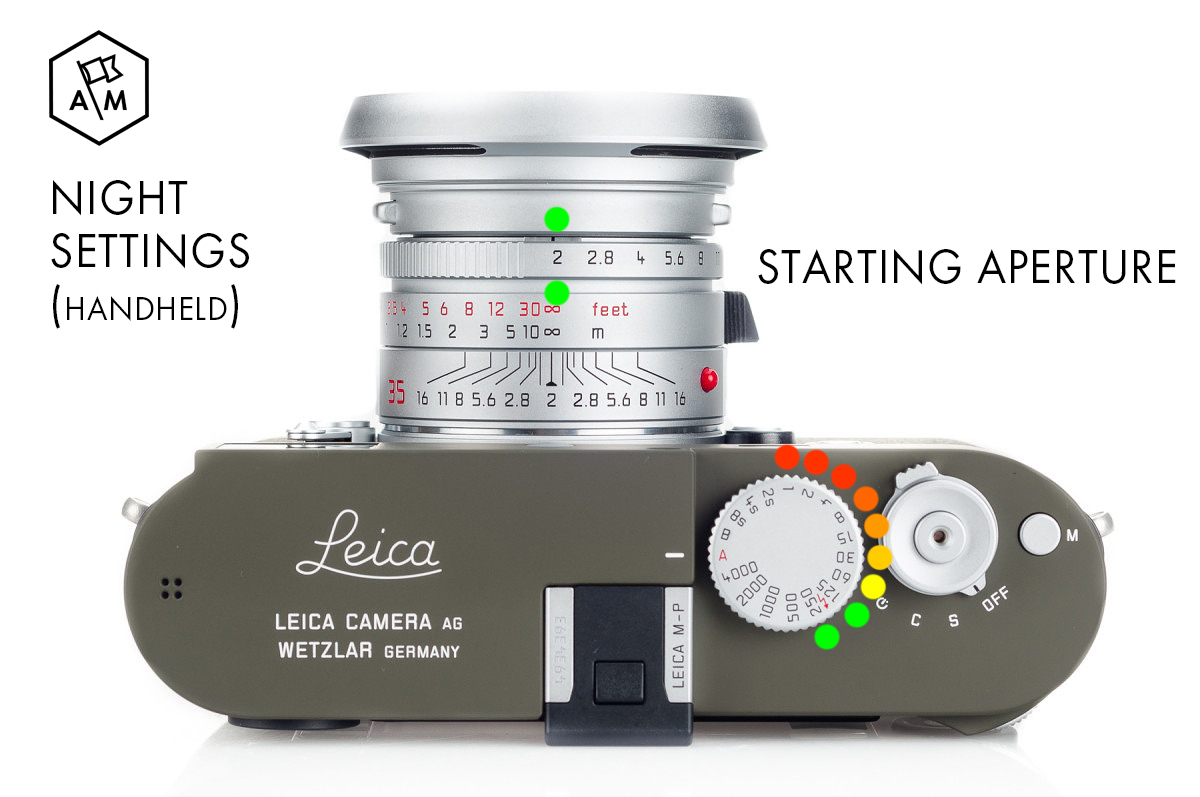
Night Shot:
Starting shutter speed 1/125 sec.
Minimum shutter speed 1/15 sec. (For night shots, sometimes a bit of blur adds to the scene. Don’t be afraid to experiment.)
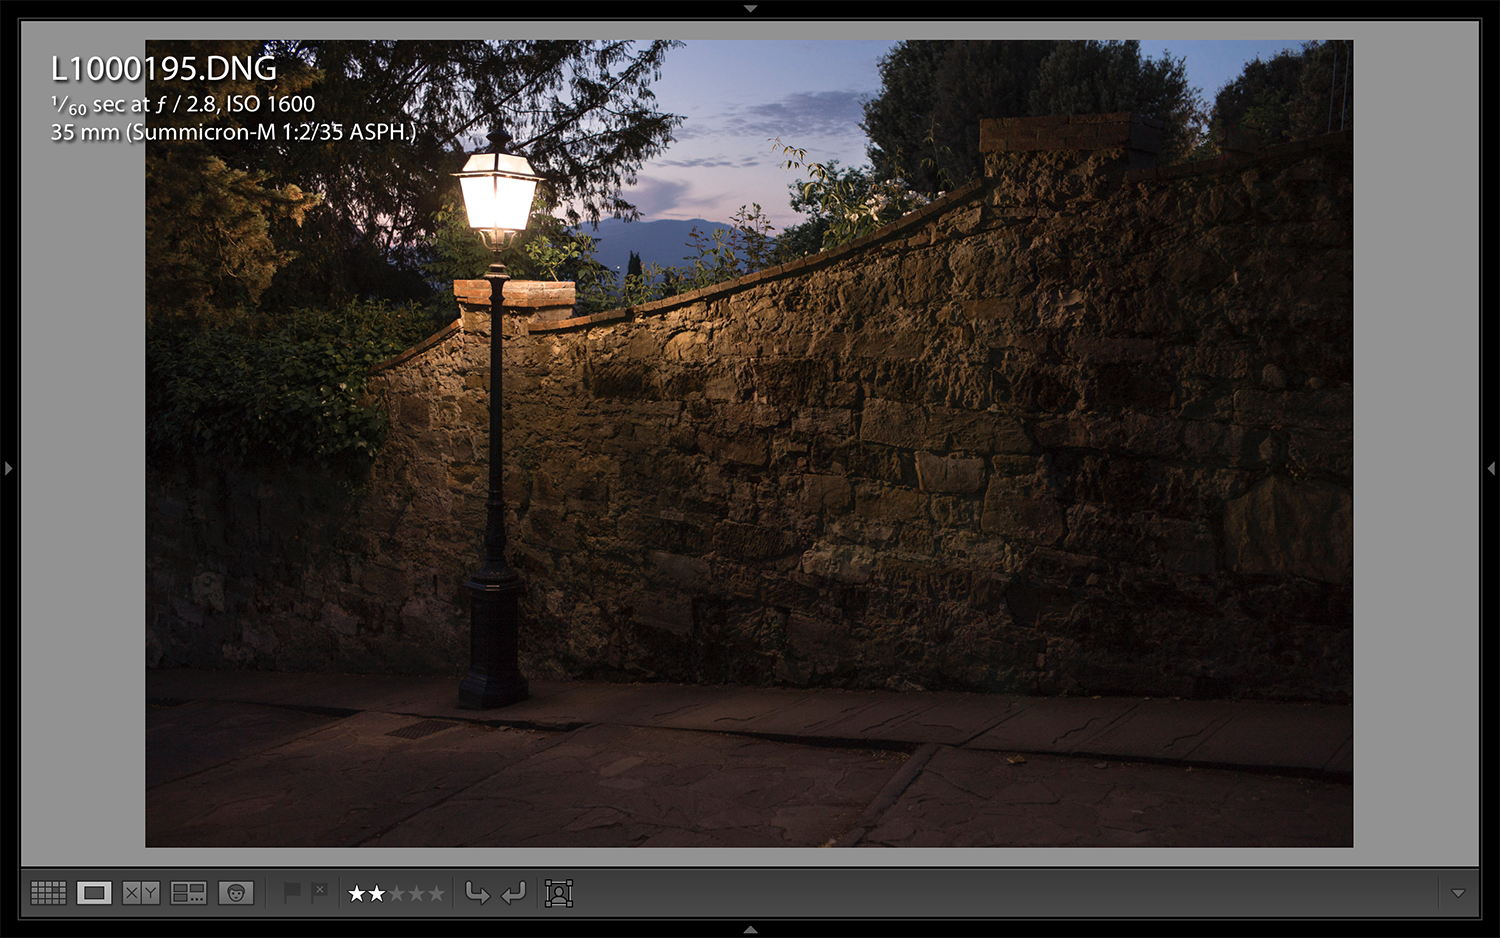
Typical Lenses: 50mm or 35mm
Why? Night photography, without a tripod requires good timing and steady breathing. While you can shoot as low as 1/15 sec., it is best to practice in more heavily lit night scenes to get used to metering off of the highlights.
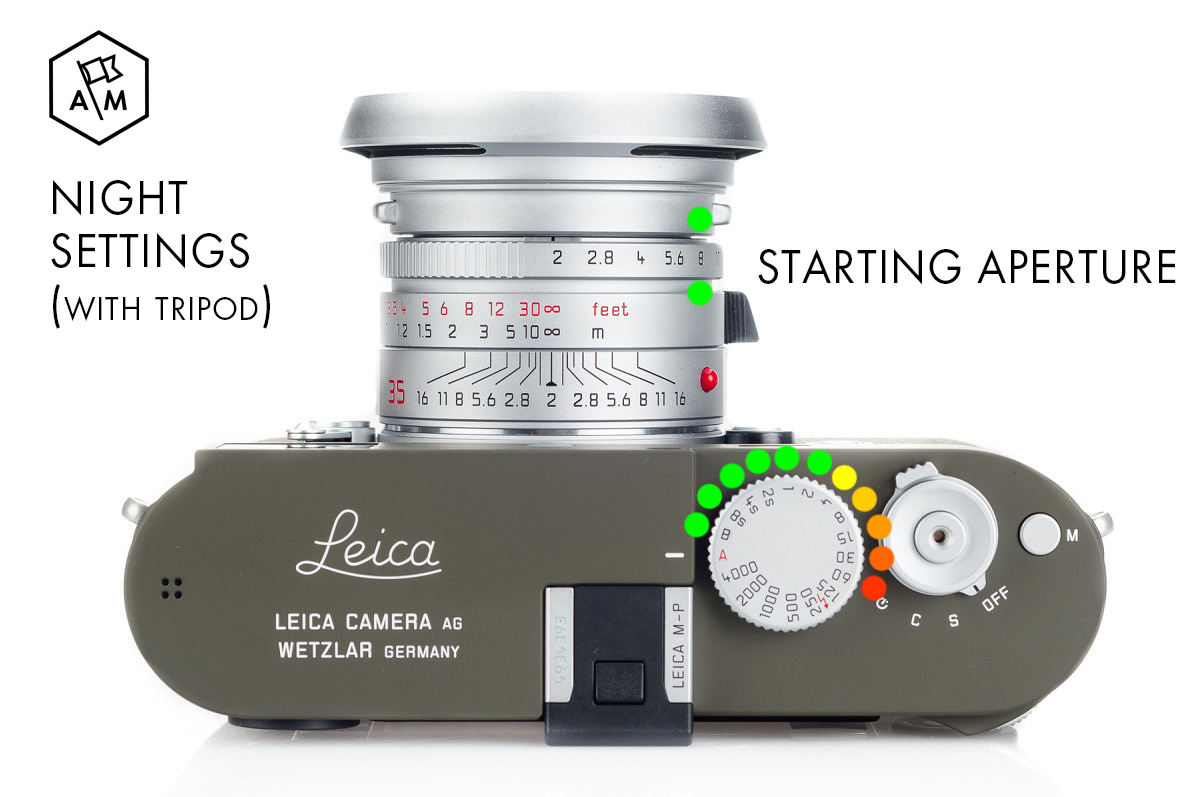
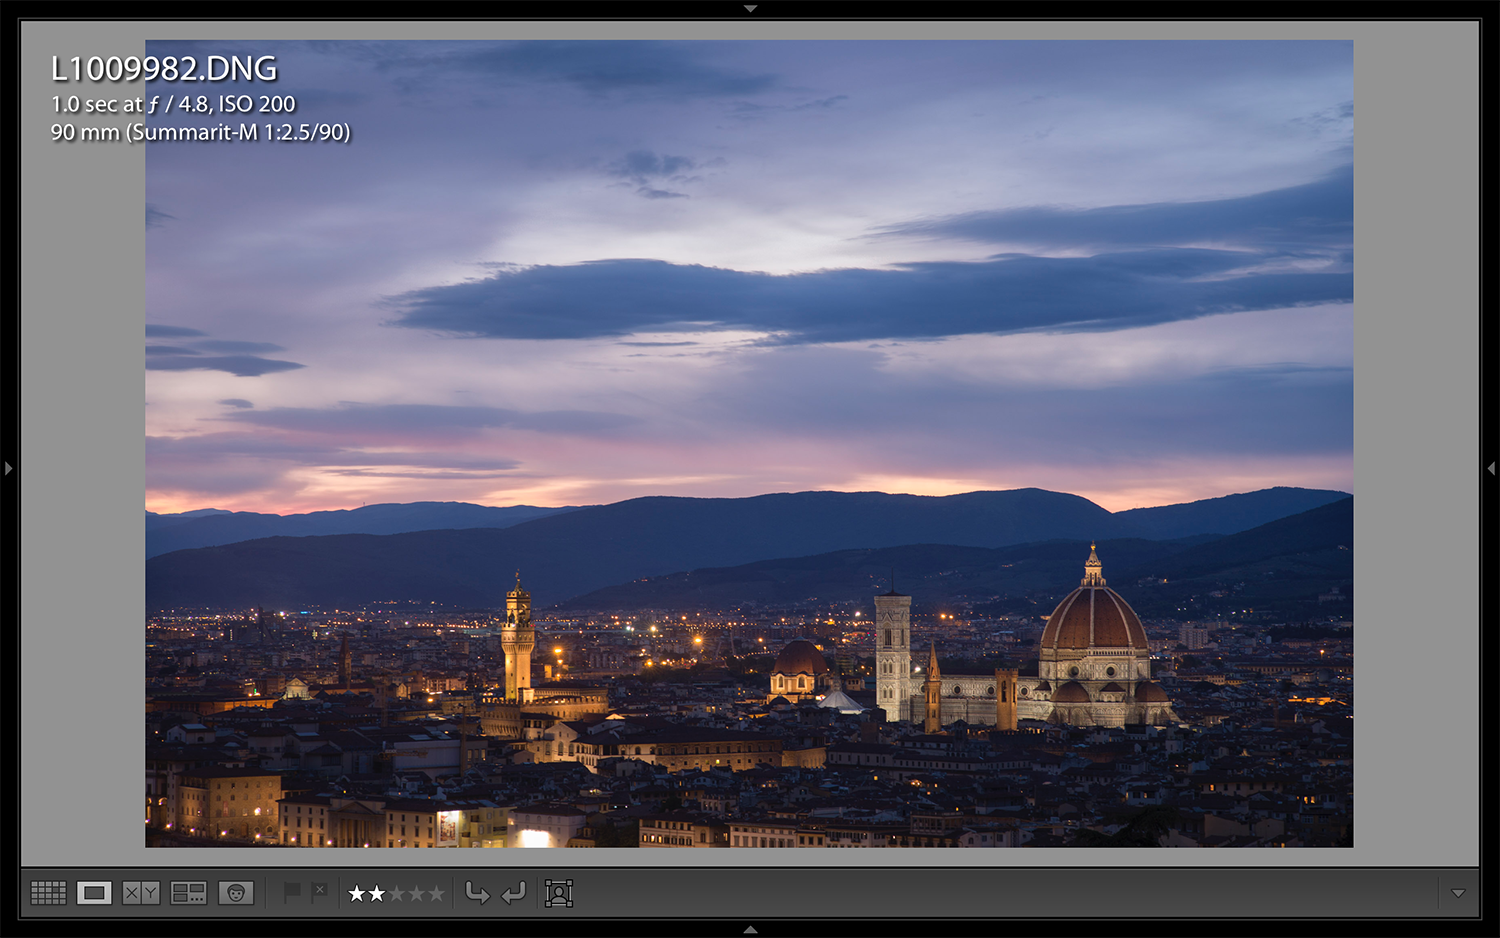
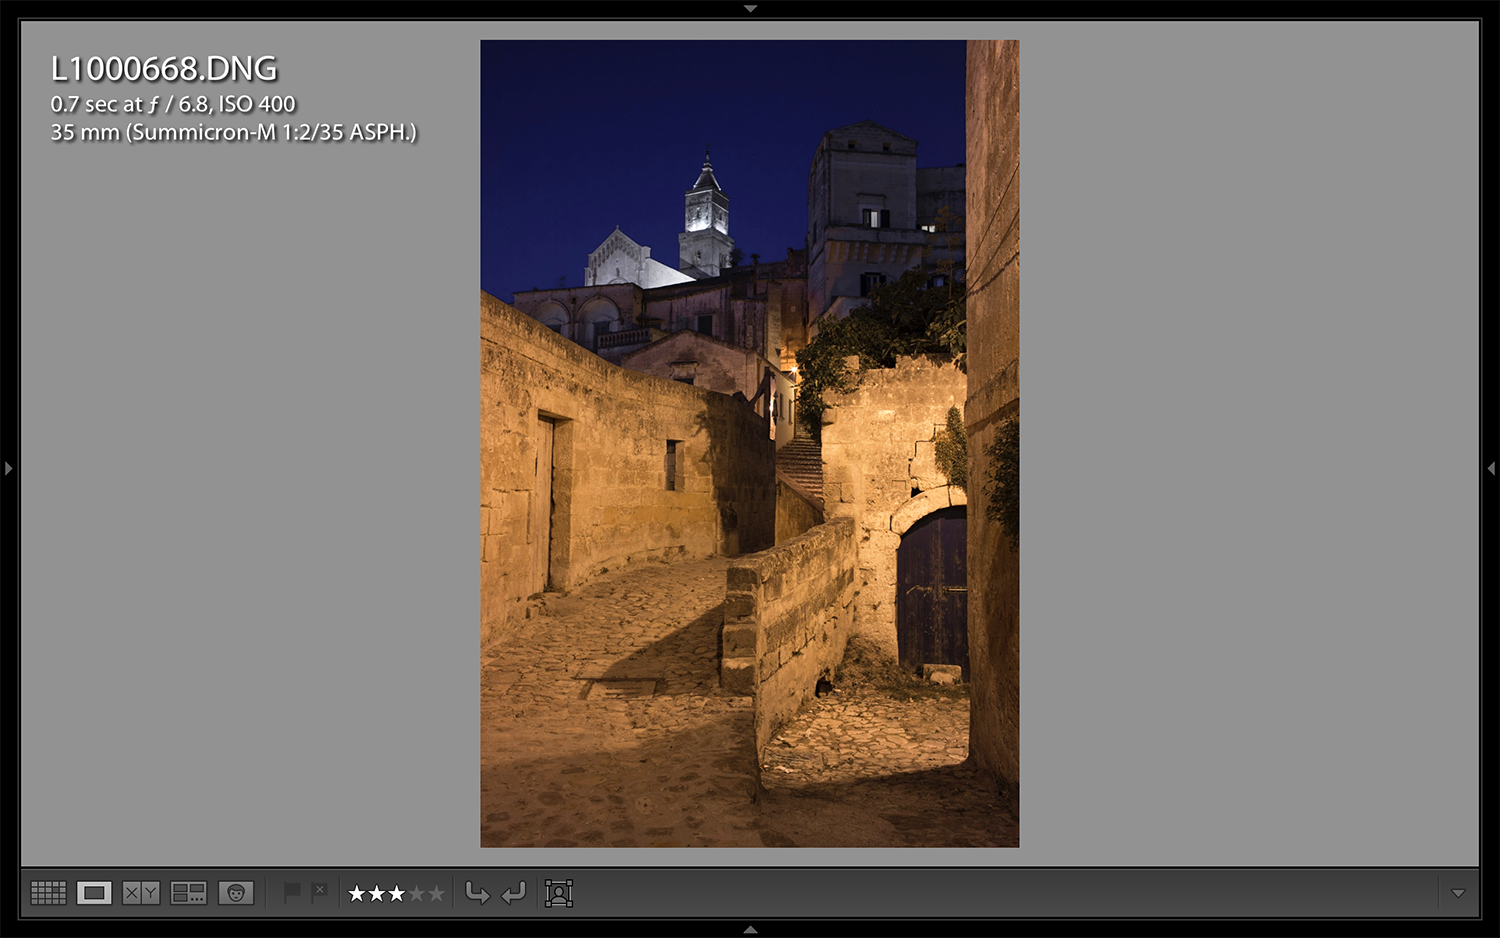
With a tripod, drop the camera to the base ISO and set at F/8 … the shutter speed will most likely be at least ½ sec or more than 1 second. But you will be on a tripod, so it is not an issue.
There are endless nuances to the game of photography.
There are volumes of books, online courses, and workshops that will take hours to learn, but I will try to distill the key lessons on this blog.
It is just like any other sport or practice, you can spend a lifetime mastering it. But getting functional does not need to take years. Simplifying a few tactics at the beginning will go a long way to keeping you focused on the important part, which is taking pictures (not getting gear).
There are endless nuances to the game of photography.